Uploading Classes - Incoming Students
To add your students into classes, follow the below steps.
Please only upload incoming 1st year or 1st class students. It is recommended to do a manual rollover for existing classes.
Student ID’s are very important in the rolling over process, this will link students to the correct account year on year. If you have changed your student id format at any stage please contact us for further advice.
Email addresses will link families together, if you have siblings that you want in the same account it is important that when loading the data file that they have the same email address against them.
Preparing your file
Prepare your student data Excel file using the exact format below. Save it as a CSV UTF-8 file. Any variation in the column headers will cause an error and prevent the file from loading. Ensure you use the correct text in each cell.

The columns marked in red are mandatory; the rest are optional. See below for details on header titles.
Leave the column headings in the CSV UTF-8 file when uploading, or the file will not load. Use the Excel file below as a template for your data.
Headings explained:
Parent Class - This can use used to create a class that contains all the parent/guardians.
Parent ID - If your school does not use Family Codes, then you do not need this column.
Parent First Name - Parent/Guardian first name goes here.
Parent Surname - Parent/Guardian surname goes here.
Parent Email - Parent/Guardian email goes here.
Student First Name - Student first name goes here.
Student Surname - Student surname goes here.
Student ID - Unique student ID goes here.
Student Class - Enter the student class name here. This field requires at least 3 characters. For example, if your class is named 1A, add a space after the A to save successfully.
Note: Don’t use any special characters in class names e.g. '/ & - '
Once all the data is in the file, make sure to save it as a CSV UTF-8 (Comma delimited) (*.csv) file.
Uploading your file
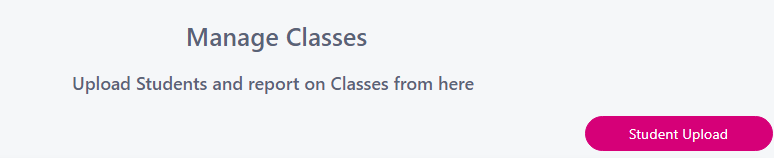
From your dashboard select Manage → Classes and click on the ‘Student Upload’ button.
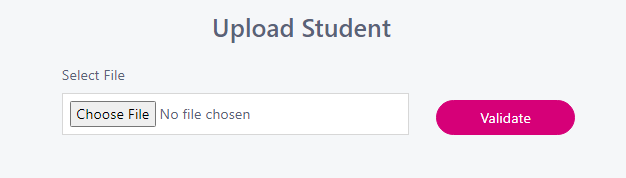
Click on ‘Choose File’. Add your data file and click ‘Validate’
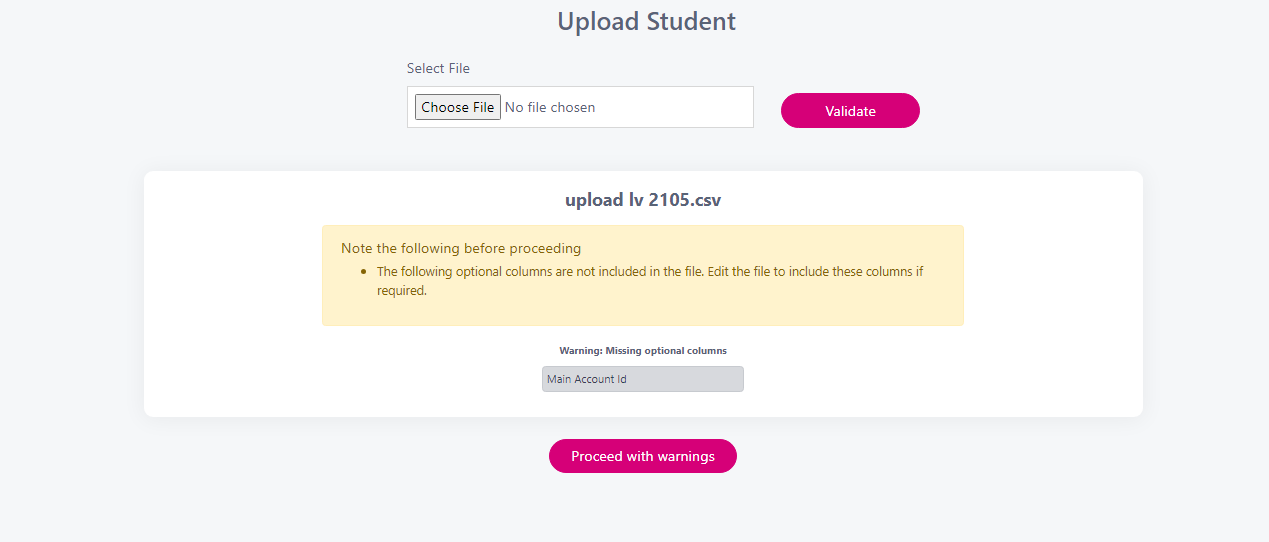
You may see some warnings that look like this: In the below example case, we are letting you know that you could have included a Main Account ID if you wanted to. You can click on ‘Proceed with warnings’ if you are happy to proceed at this stage.
You will then see something similar to the below:
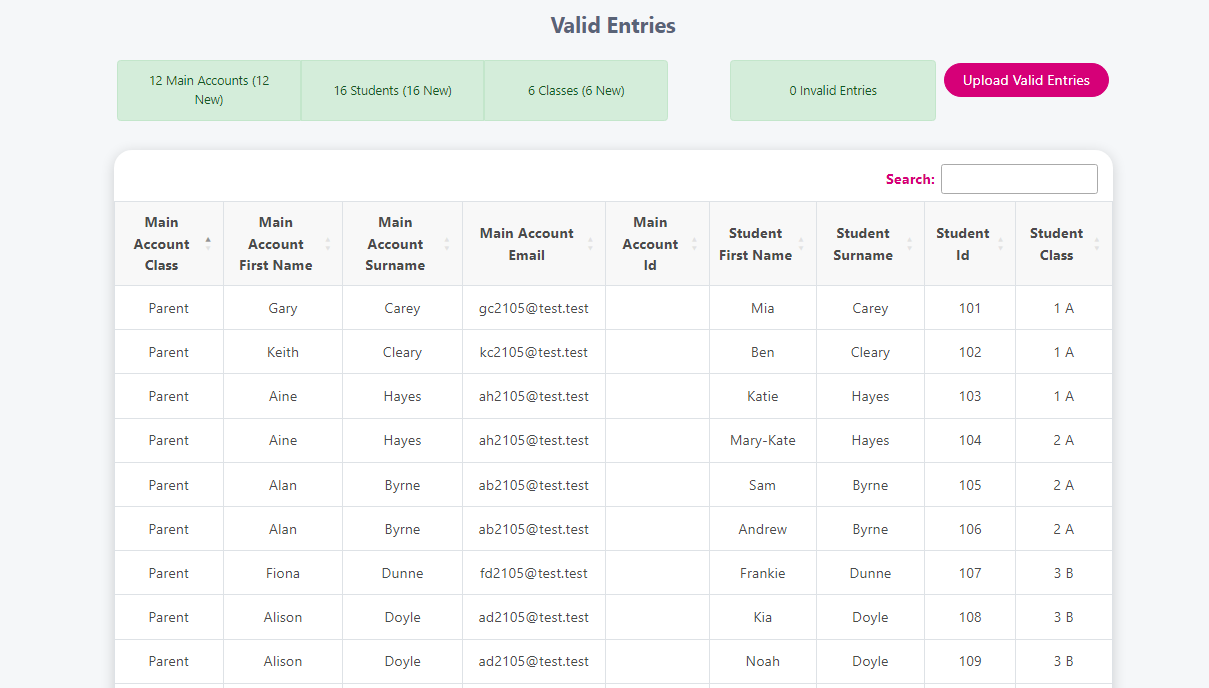
When everything looks good, click Upload Valid Entries.
Upload time depends on your file's size. After completion, your classes will appear.
Troubleshooting errors
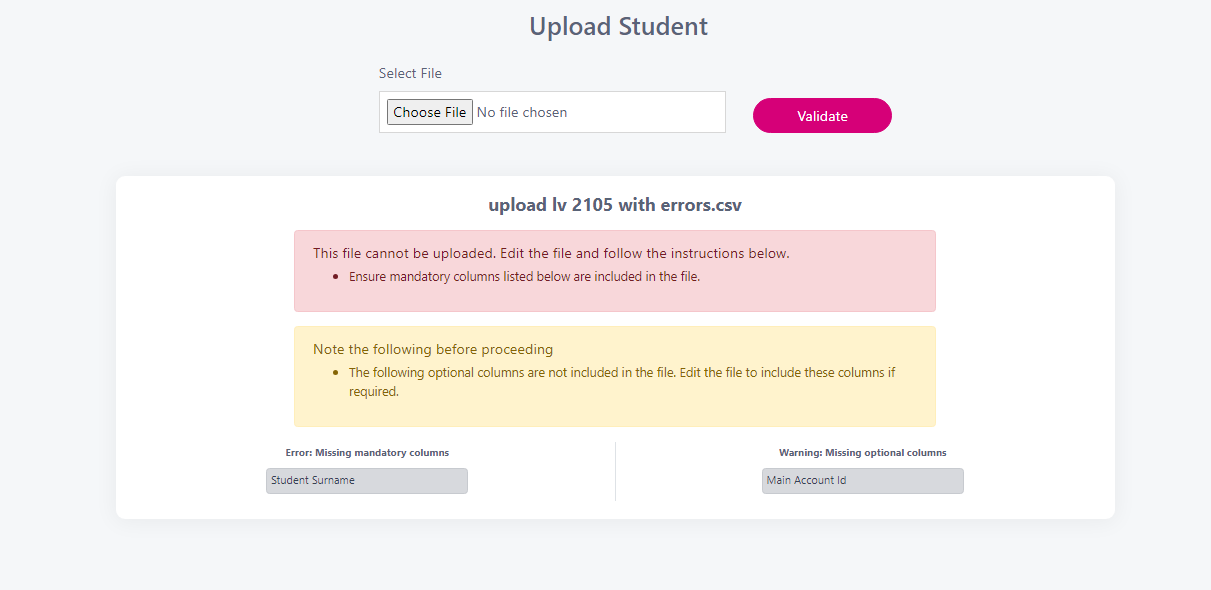
Above, we uploaded a file containing an error and a warning.
We are missing a mandatory column—student surname—so we must add it to the data file before uploading.
After adding the mandatory column and reuploading, we see the following:
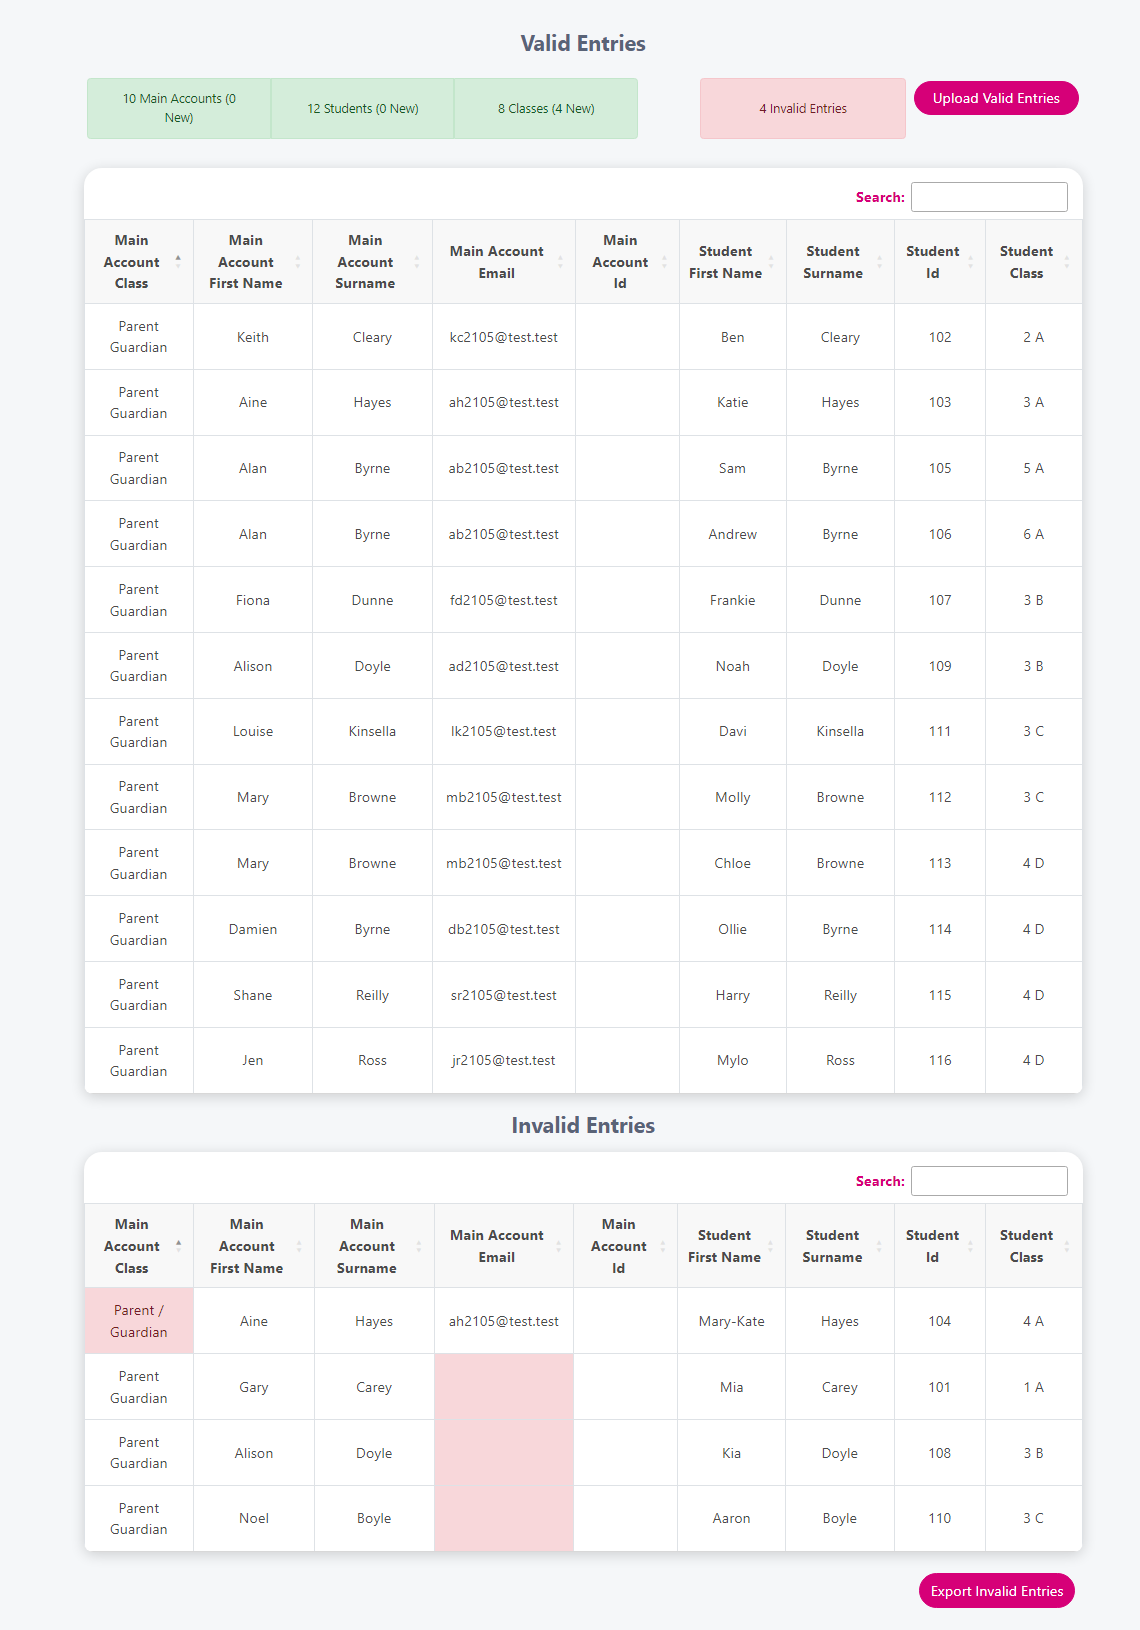
One invalid entry above is Parent / Guardian. Hovering over the red highlight shows this is an ‘Invalid Class Name’ due to a disallowed special character.
A few email addresses are missing and flagged in red.
You can ‘Export invalid Entries’ to correct them later and proceed by clicking ‘Upload Valid Entries’