Creating a Donation Product
This article outlines how you can create a donation product. Customers can choose any amount that they wish to donate.
Follow these steps
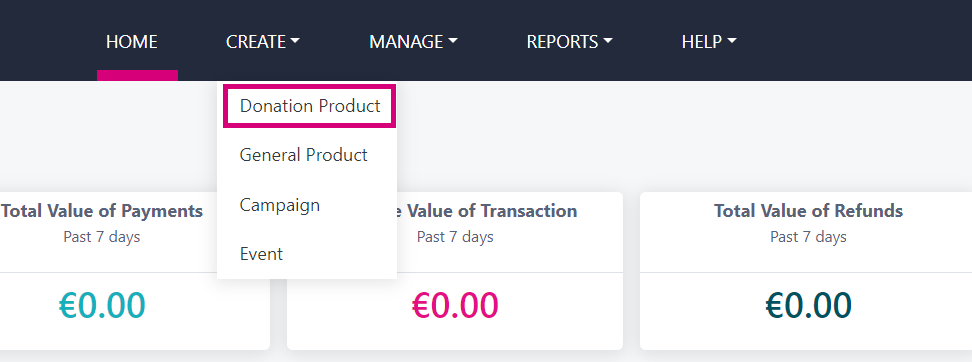
On the menu bar, select Create → Donation Product.
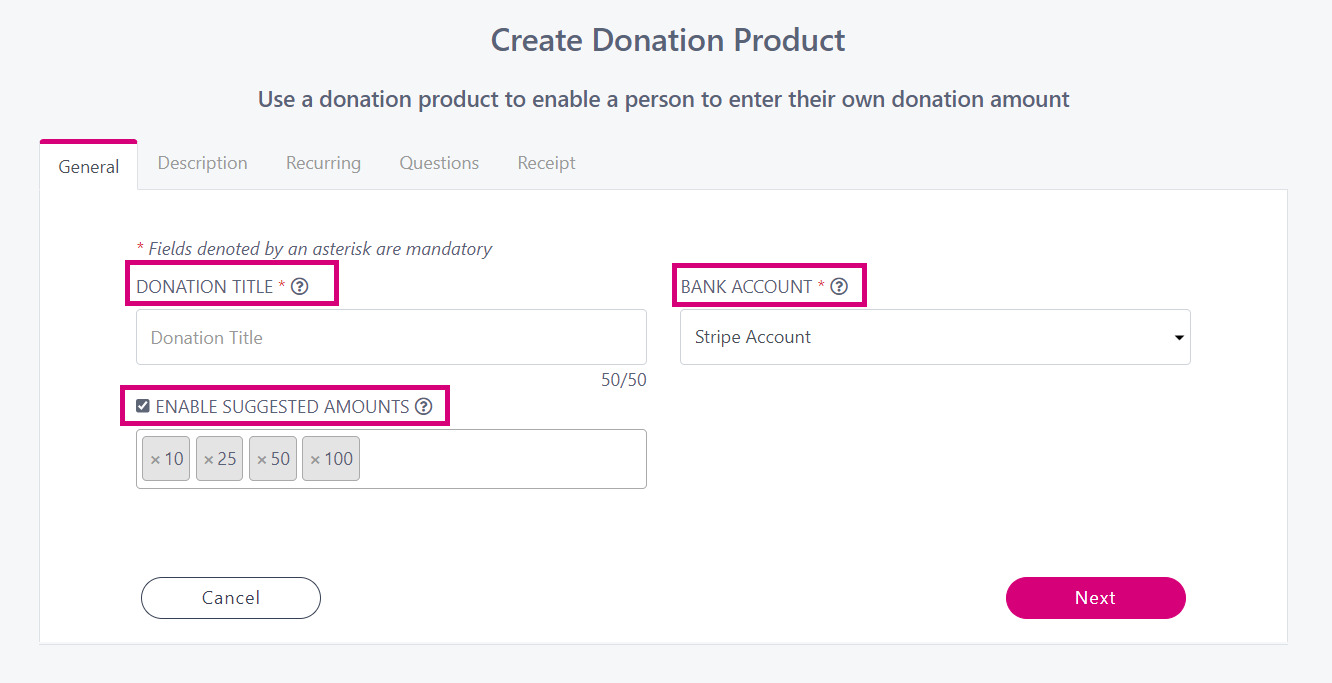
2. On the General tab fill in the Donation Title and select a Bank Account you want the funds to settle into.
Enable Suggested Amounts - tick this feature if you would like your donors to see suggested amounts when they are donating. Use the default ones, or X the amounts you don’t want to use and add in your own amounts.
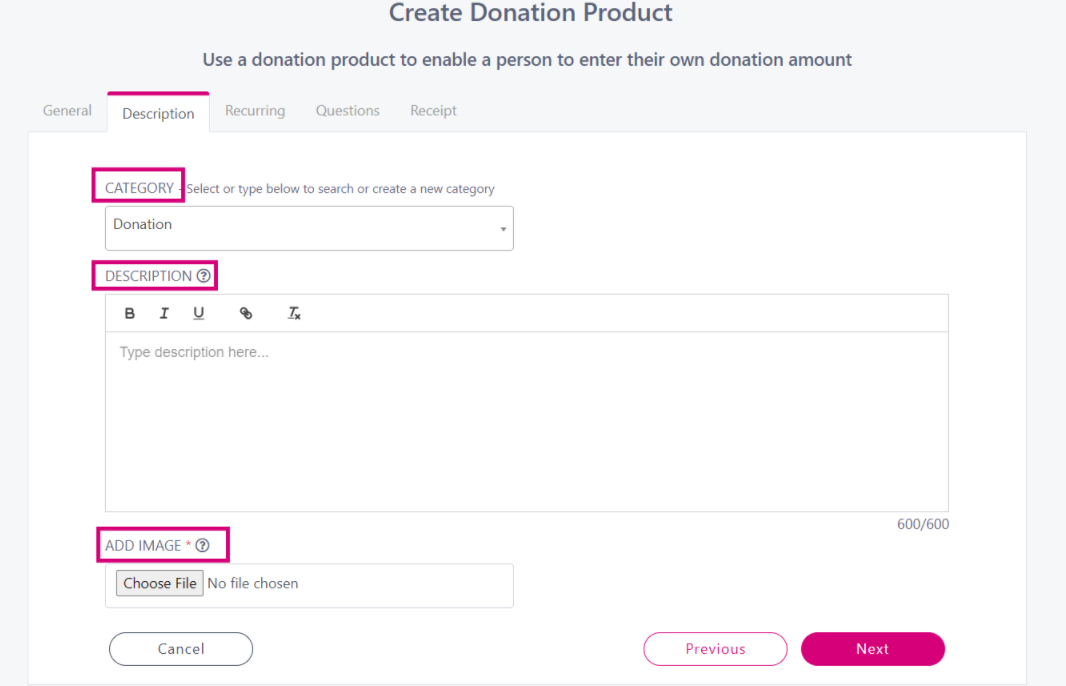
3. On the Description tab, you can fill in the following fields.
Category
Pick from the pre-defined list
Or start typing in a new Category that you wish to define
Description
Enter in any information about the product that you want the user to see. Use the rich text editor to make your text Bold, Italic, Underline or add a link.
To add a link type your text into the description, highlight the text you wish to link and click the link icon

The following box will appear, you can enter in your link and press Save.

GL Code (If applicable)
Select from your list of pre-defined of GL Code to help with reporting. Read more about GL Codes here.
Add Image
Upload your own image or choose a generic one from our catalogue.
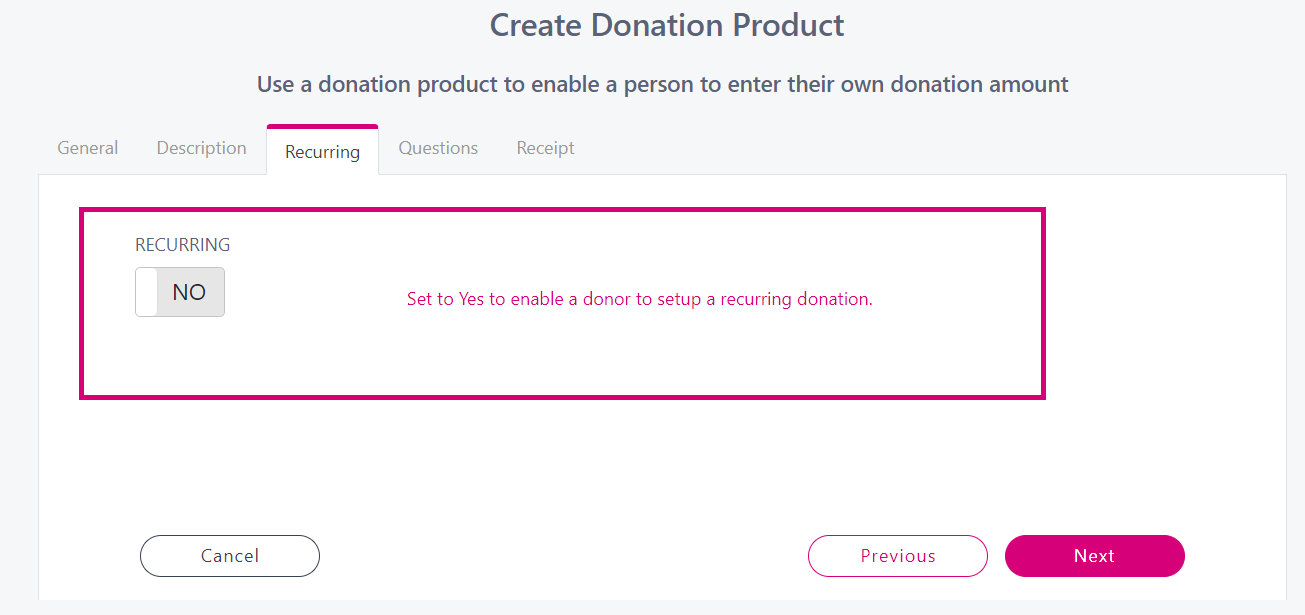
4. Recurring will by default be set to No by default but can be toggled on. You can read more about setting up a recurring plan here.
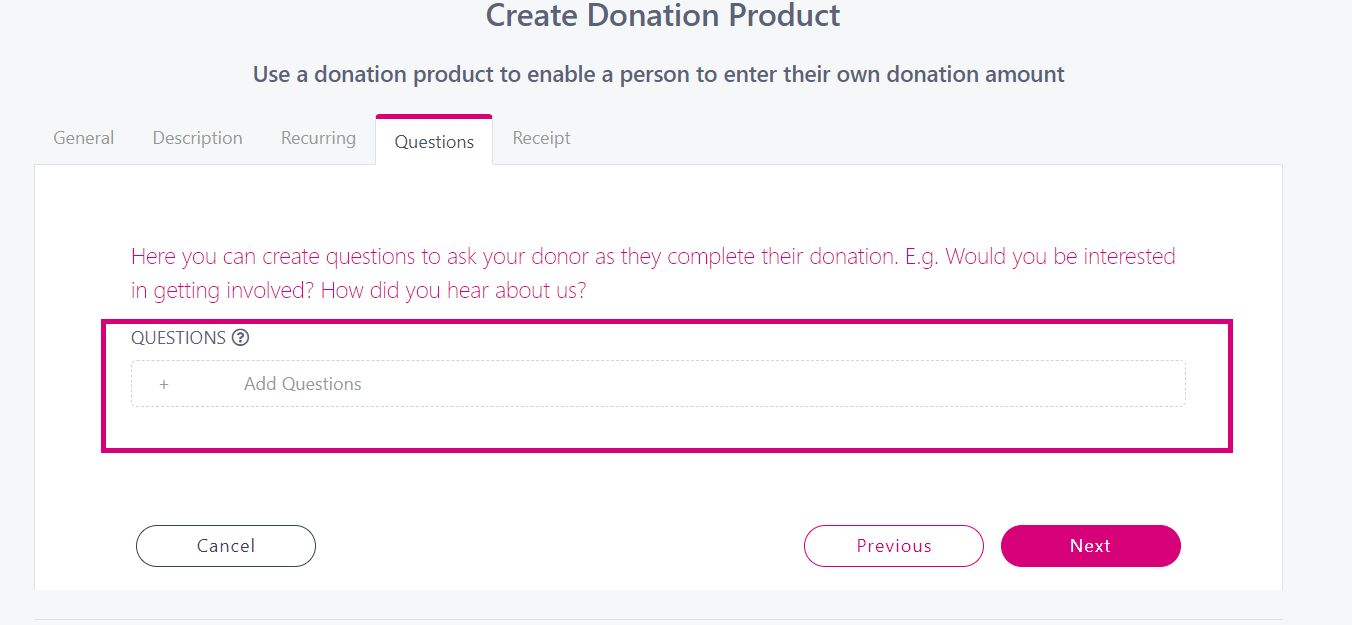
5. Questions can be added on the Questions tab, with the option to make them mandatory. You can read more about Questions here.
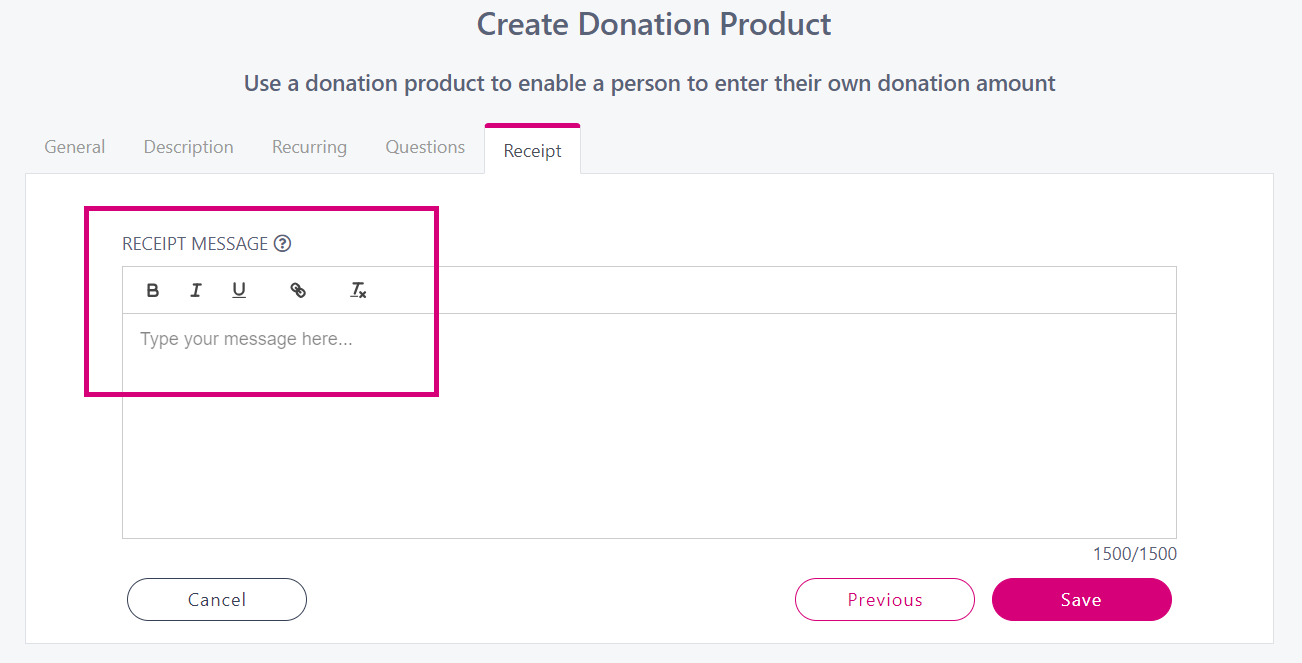
6. Option to enter a Receipt message that users will receive on receipt of payment and click Save. Use the rich text editor to make the text Bold, Italic, Underline or add a link to your message.
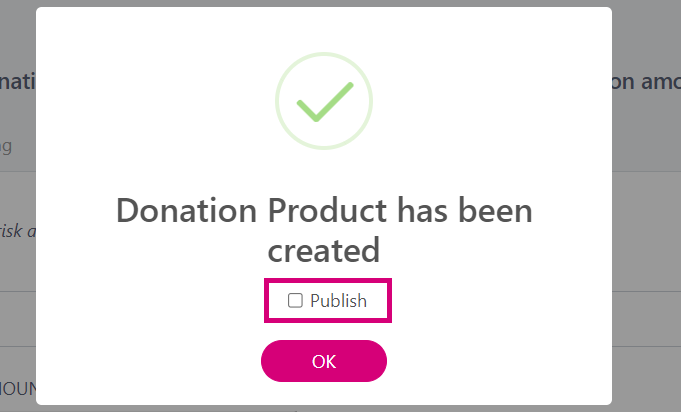
7. If you wish to Publish the donation product straight away, check the Publish tick box.
Look out for the ? symbol beside each field to view the tooltip for some extra information.