General Product with Beneficiaries (Schools)
When you have created a general product/school expense, you will see a couple of options under the beneficiary tab. This article will explain these options.
From the ‘Create' menu option, select ’General product'.
Follow all the steps as normal to create your product. When you get to the 'Beneficiaries' tab you will see the below:
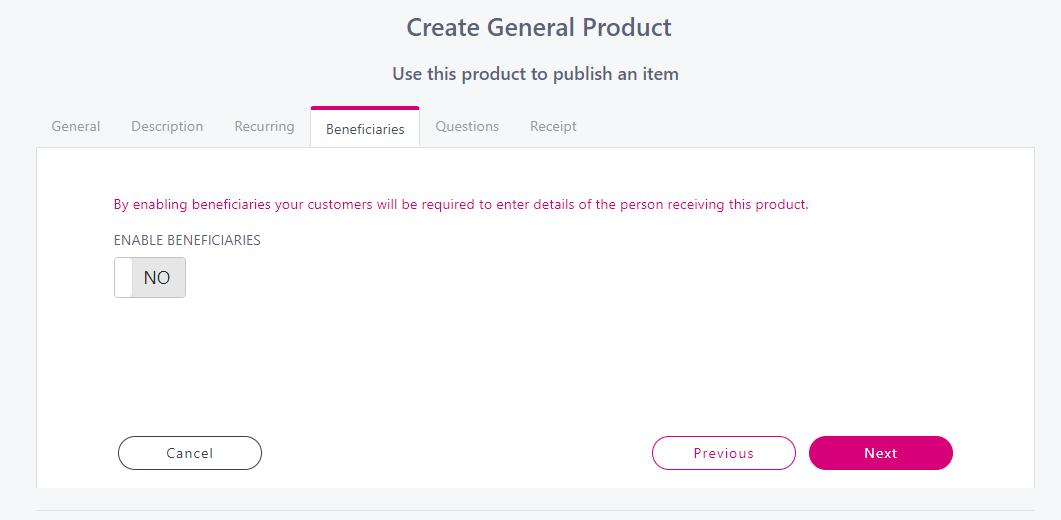
If you want to know who the name of the person the product is being purchased for you should switch 'Enable Beneficiaries' to YES.
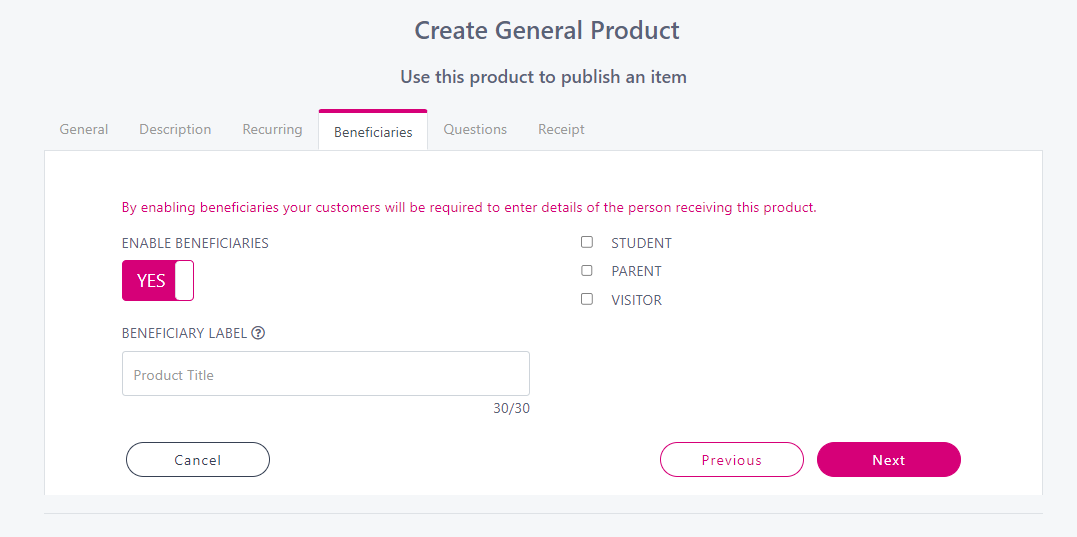
You have the option to select who you want to allow purchase the product.
Student: This means that only a student can purchase this product. If someone tries to purchase this product that doesn’t have a student attached to their account they wont be able to.
Parent: This means that this product will be available to be purchased by a parent and they won’t need to select a student, this could be used for voluntary contribution or any family payments.
Visitor: This means anyone can purchase the product, this is useful for taking payments from outside the school population. This could be used for incoming student deposits or concert tickets to mention a few.
You can tick as many options as you want to use. If you are using more that one, update the ‘Beneficiary Label’ accordingly. For example if you are just allowing Students to purchase the product then the label should be updated to Student.
If you have ticked more that one beneficiary above then it is best to leave the label set to the default of 'Beneficiary'.