How to create a discount (with a Code)
Use this feature to give your customer discounts. This can be a % amount or a fixed cost amount. You can put limits on the amount of discount a customer receives.
From the dashboard select Manage → Discounts.
Click on Create Discount to get started.
You will see the below screen.
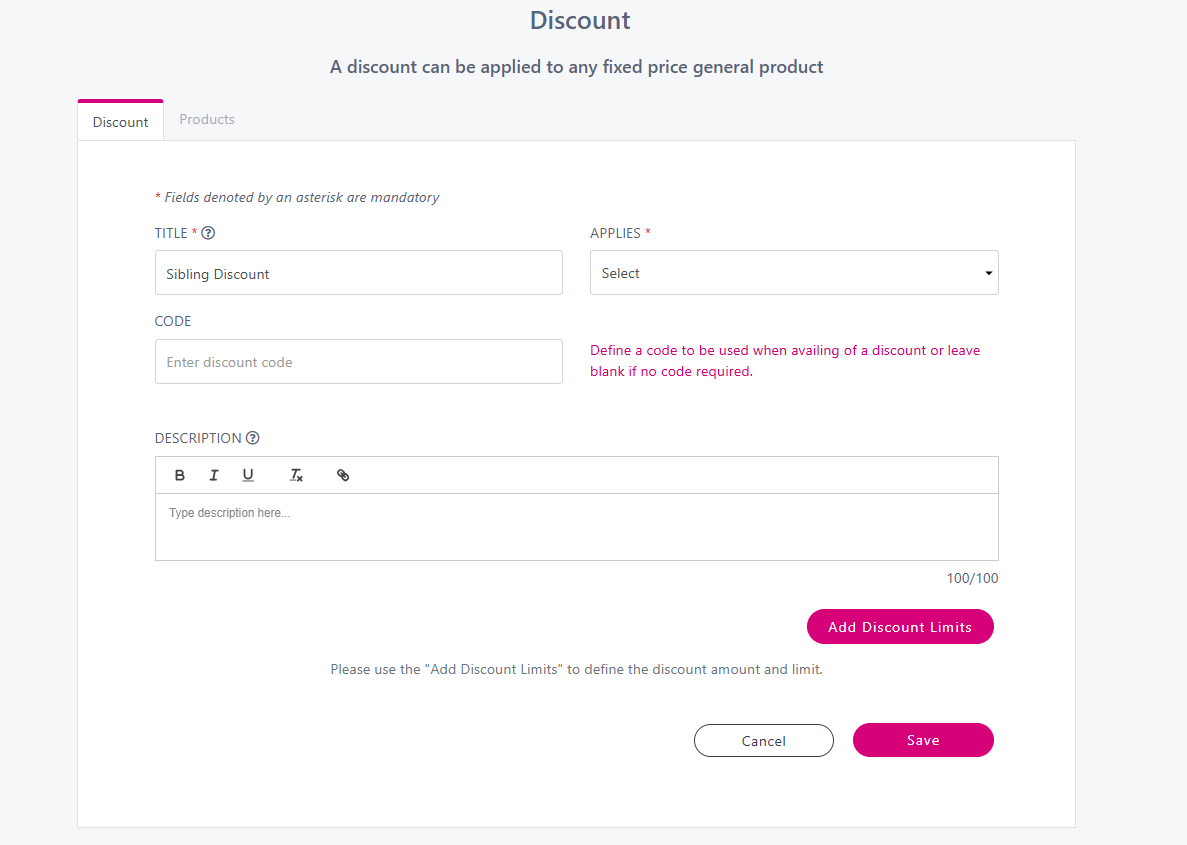
Title: Give your discount a name to help you identify it. This is not displayed to your customers.
Applies:
Choose Always apply the discount to apply the discount to any products added to the basket, regardless of who they are being purchased for.
Choose Apply the discount for the same student/member to only apply the discount when the same beneficiary buys the products.
Code: Insert a code that your customers will need to enter at the checkout stage to avail of a unique discount.
Description: Add a discount description that will be shown to your customers. For example ‘Add more than 2 items classes to receive a 10% discount.’
Then click ‘Add Discount Limits’ to set the discount parameters.
You will see the below screen:
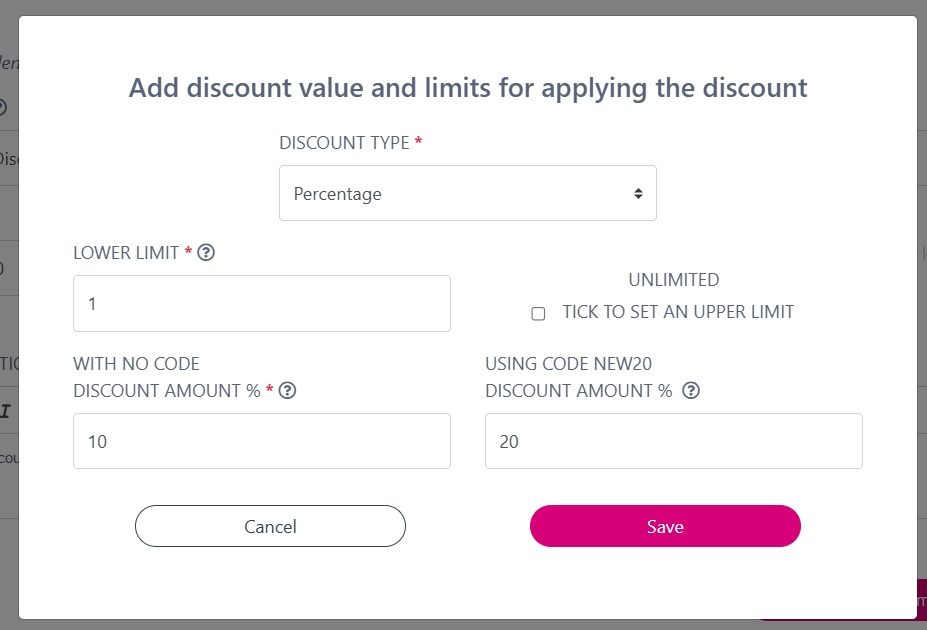
Discount Type: From here decide it you want to give a Fixed Amount or a Percentage discount.
Discount Amount:
With No Code: Enter in the discount amount i.e. €5.00 if its a fixed amount and 10 for 10% if you have chosen a percentage amount that will be applied when a customer has No Code.
Using Code ‘New20’: Enter in the discount amount i.e. €5.00 if its a fixed amount and 10 for 10% if you have chosen a percentage amount that will be applied when a customer has A Discount Code.
Set the limits on the discount using the same principles that apply here.
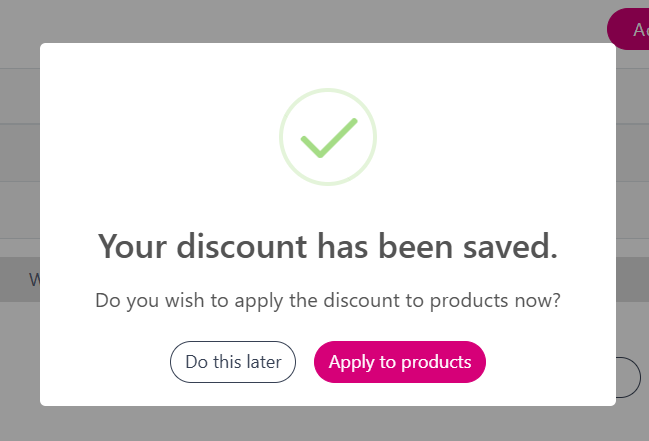
Once you are finished configuring your discount, click Save.
You will get the following confirmation message.